How do you install a VPN on your router?
VPNs (virtual private networks) are one of the most popular ways that Internet users maintain their privacy and security online. However, installing a VPN on an individual device only protects that device; other devices connected to your network remain exposed and unprotected.
Installing a VPN on your router will protect all devices connected to it, saving you the effort of having to individually install a VPN on each one. Here are the steps to install a VPN on a router.
Why Install a VPN on Your Router?
VPNs have become popular in recent years for a variety of reasons. Because VPNs mask users’ IP addresses when connected to the Internet, they allow you to remain anonymous, making them effective tools for bypassing government censorship or region blocks on streaming content.
However, VPNs only protect the devices on which they are installed. For example, if you install a VPN on your computer, any other devices that are connected to your router, such as your smartphone, will remain unencrypted and unprotected.
While many VPNs offer mobile apps for multiple types of devices, configuring VPNs on each individual device can be a time-consuming process. Additionally, the growing popularity of smart devices, such as smart TVs, adds another element of vulnerability to home networks.
Installing a VPN on your router solves all of this. By installing a VPN on your router, all devices that connect to it will be automatically protected, saving you the trouble of having to configure a VPN on each one.
Tips to Choose a VPN-Friendly Router
Before you install a VPN on your router, you must first ensure that your router is compatible with VPNs. This is no easy task because many consumer-level routers do not have VPN functionality built in.
When shopping for routers, you should check to see if they are compatible with the VPN you are using. Many VPN providers will provide a list of suggested routers that are compatible with their software, as well as configuration instructions to make it easy to set up their programs on other routers.
A VPN-friendly router should also have strong inbuilt security features. These include firewall protection, encryption, and secure remote access. Many consumer-level routers already have some or all of these features, but it’s good to check the router you’re interested in just to make sure.
You will also want to select a router that is capable of fast performance. VPNs can impact the speed of your Internet connection, especially if you are using a slower VPN protocol or if you are connected to a server that is located far from your location. Choose a router that has fast processing speeds.
Especially important when it comes to router performance is how many devices the router can support simultaneously. If you’re planning to connect multiple devices to your router, such as a computer, smartphone, and so on, you’ll need a router that can handle all of these whiles on a VPN.
Finally, you’ll want to consider price point. Routers can range from as cheap as $50 to as much as several hundred dollars depending on their speed and features. Depending on your personal needs, you may need to spend more to find a router that is right for you.
Steps to Install a VPN on Router
While no two routers or VPNs are the same, most routers from Linksys and other manufacturers have similar configuration processes and tools. You should always consult your VPN’s instructions and router’s instruction manual before making any changes.
That said, here are the steps to install a VPN on router.
1. Choose a VPN Provider
The first step in setting up a VPN on your router is to choose a VPN provider. There are many VPN providers to choose from, so it’s important to do some research to find one that meets your needs.

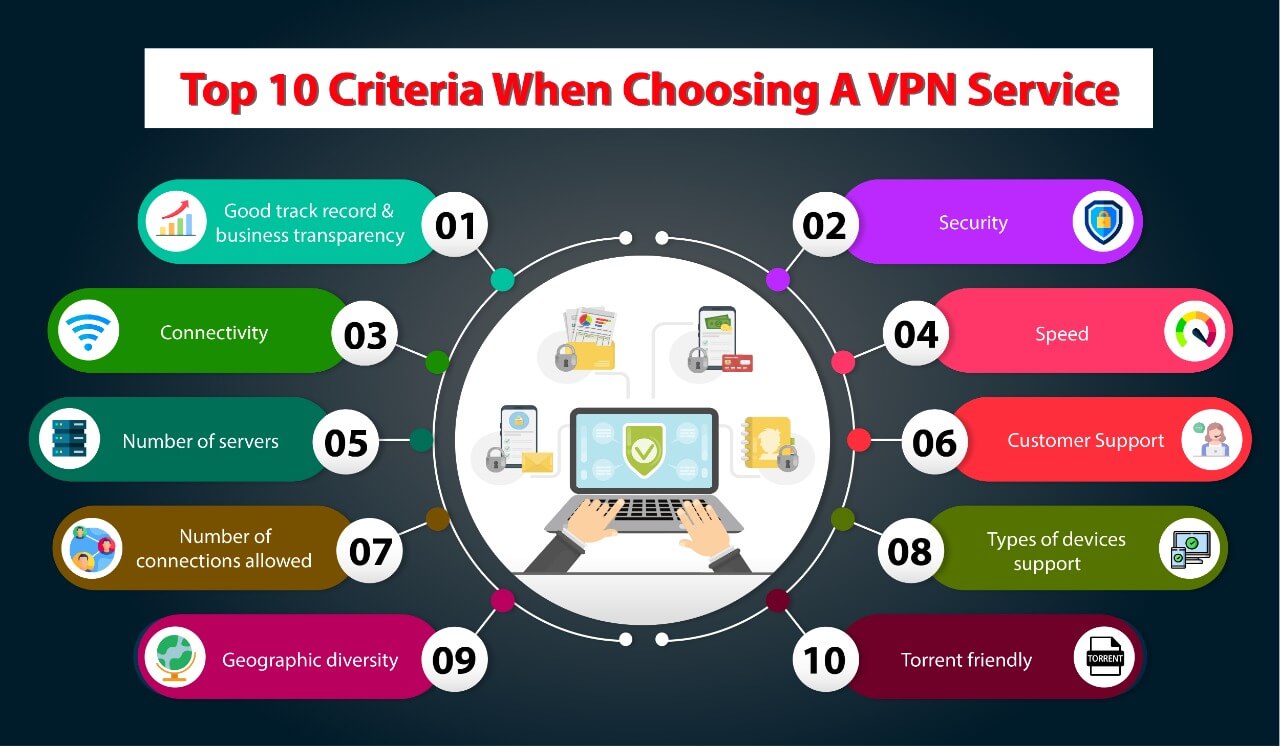
When choosing a VPN, you should consider factors such as the number of servers, the strength of the encryption, and the availability of technical support. Many VPN providers, such as NordVPN, offer excellent technical support as well as a bevy of features, including extensive support for router use.
2. Install the VPN Client on Your Router
Most VPN providers will offer a client or app that you can use to set up the VPN on your router. Follow the instructions provided by your VPN provider to install the client on your router.

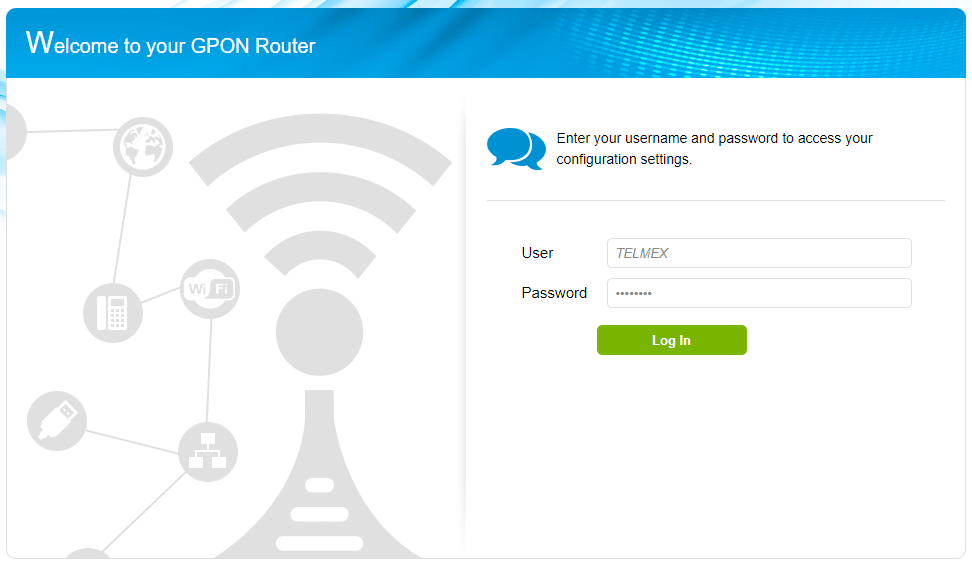
This step will likely require access to your router’s configuration console. To access your router, you’ll need to determine what your router’s IP address is. If you are using Windows, open Command Prompt by clicking the Start menu, typing in “Command Prompt” and pressing the Enter key, then entering “ipconfig” and pressing Enter again. Your router’s IP address will be listed as “Default Gateway.”
Once you’ve obtained your router’s IP address, type it into your browser and you’ll be taken to your router’s configuration screen. If you’ve never altered your router’s default username or password, going to your manufacturer’s website or user manual will allow you to find the default credentials.
Note that your VPN provider will likely require that you update your router’s firmware as part of the installation process. Follow your router’s instructions to do so.
3. Configure the VPN Settings
Once the VPN client is installed on your router, you will need to configure the VPN settings. This typically involves entering your login credentials and selecting the server you want to connect to. Some VPN providers may also allow you to customize other settings.

Be sure to set everything up the way you want it, as well as test out your devices to make sure they are working properly.
Install a VPN on Your Router: The Bottom Line
Installing a VPN on your router can seem like a laborious process. Configuring a VPN for a single device is generally easy, but choosing a VPN-friendly router and setting it up may come off as daunting for some users.
However, by following these steps, you can easily get your VPN running on your router and secure all your devices, allowing you to stay anonymous online.

